Last updated November 21, 2026
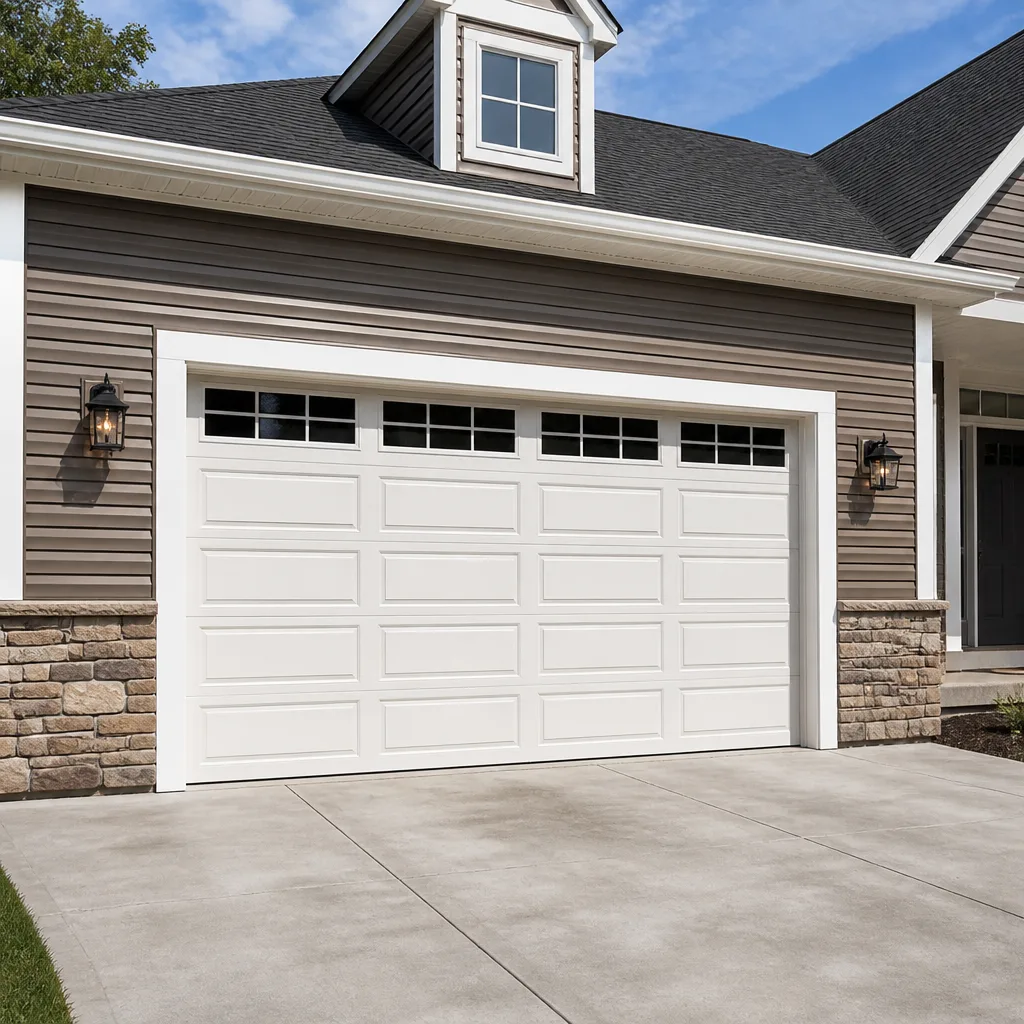 Raised-panel steel
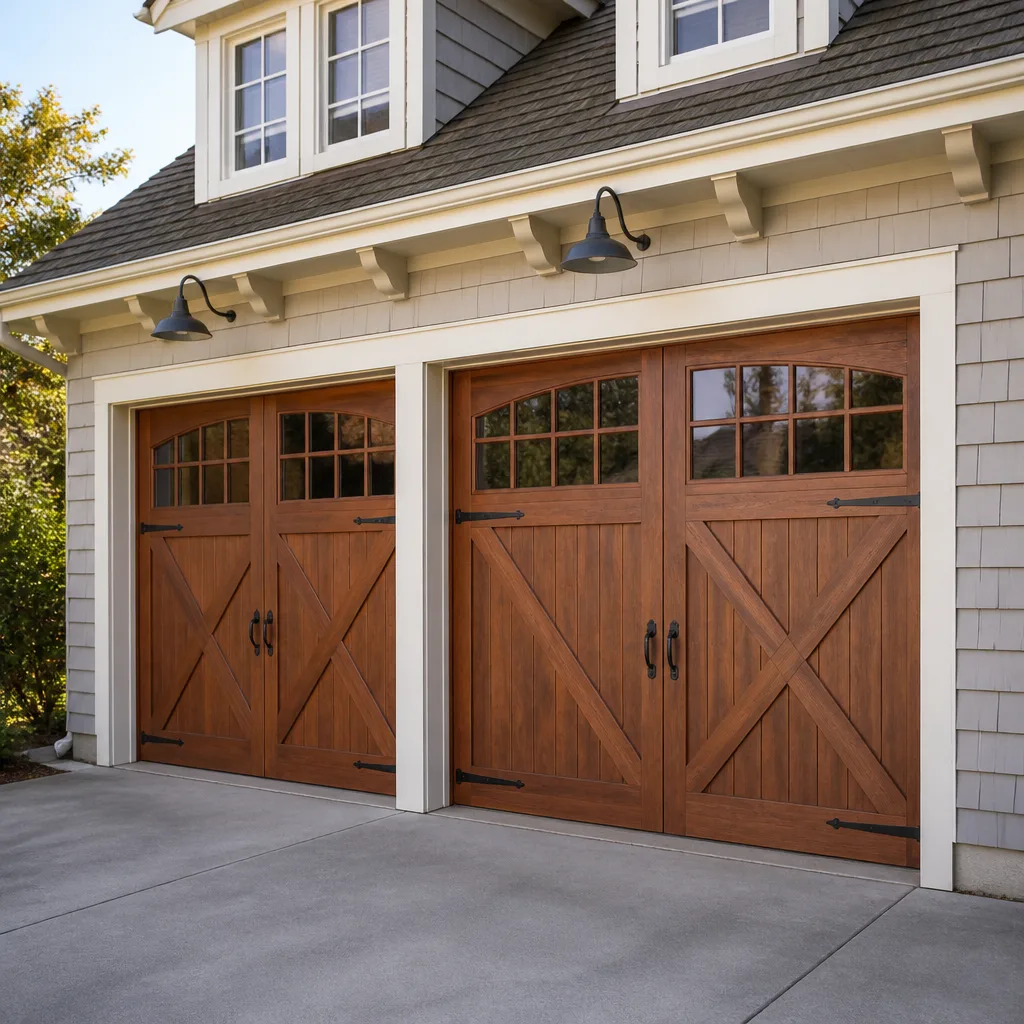 Carriage house
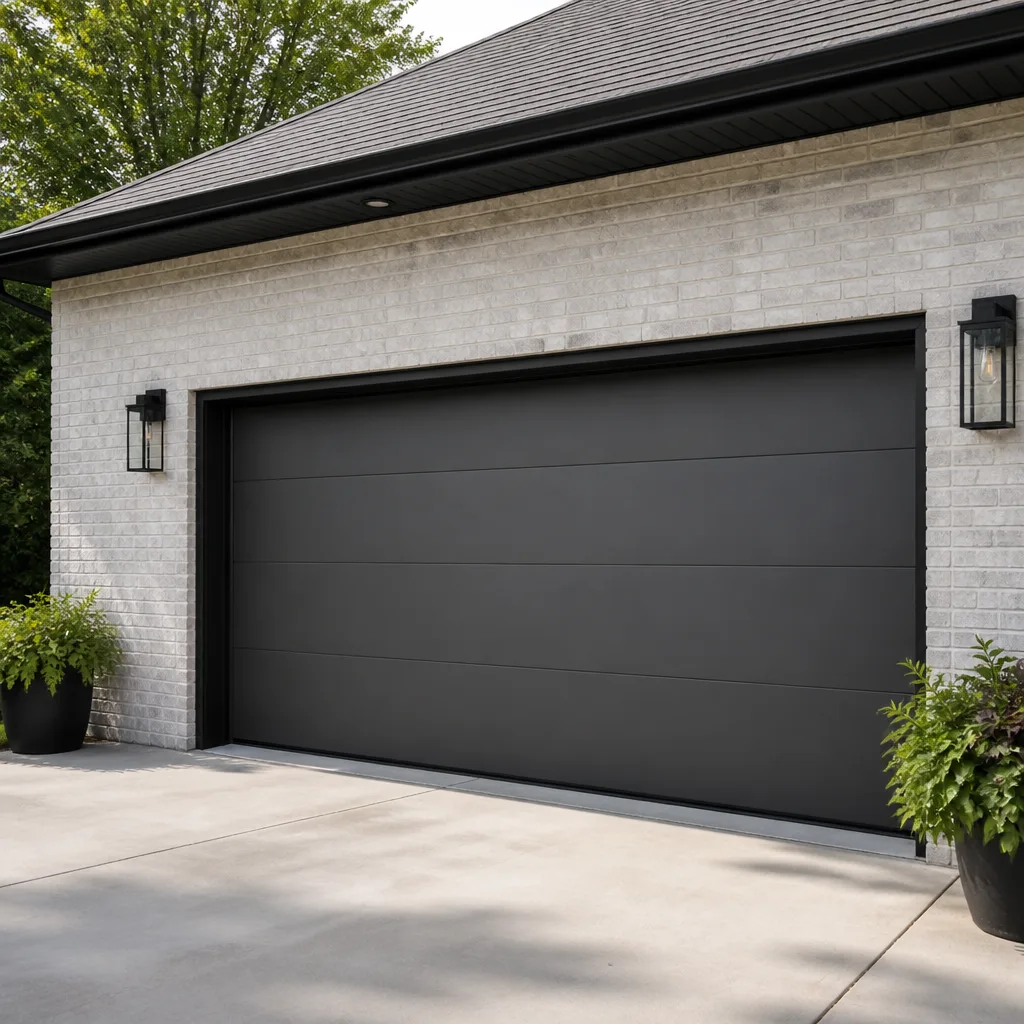 Modern flush
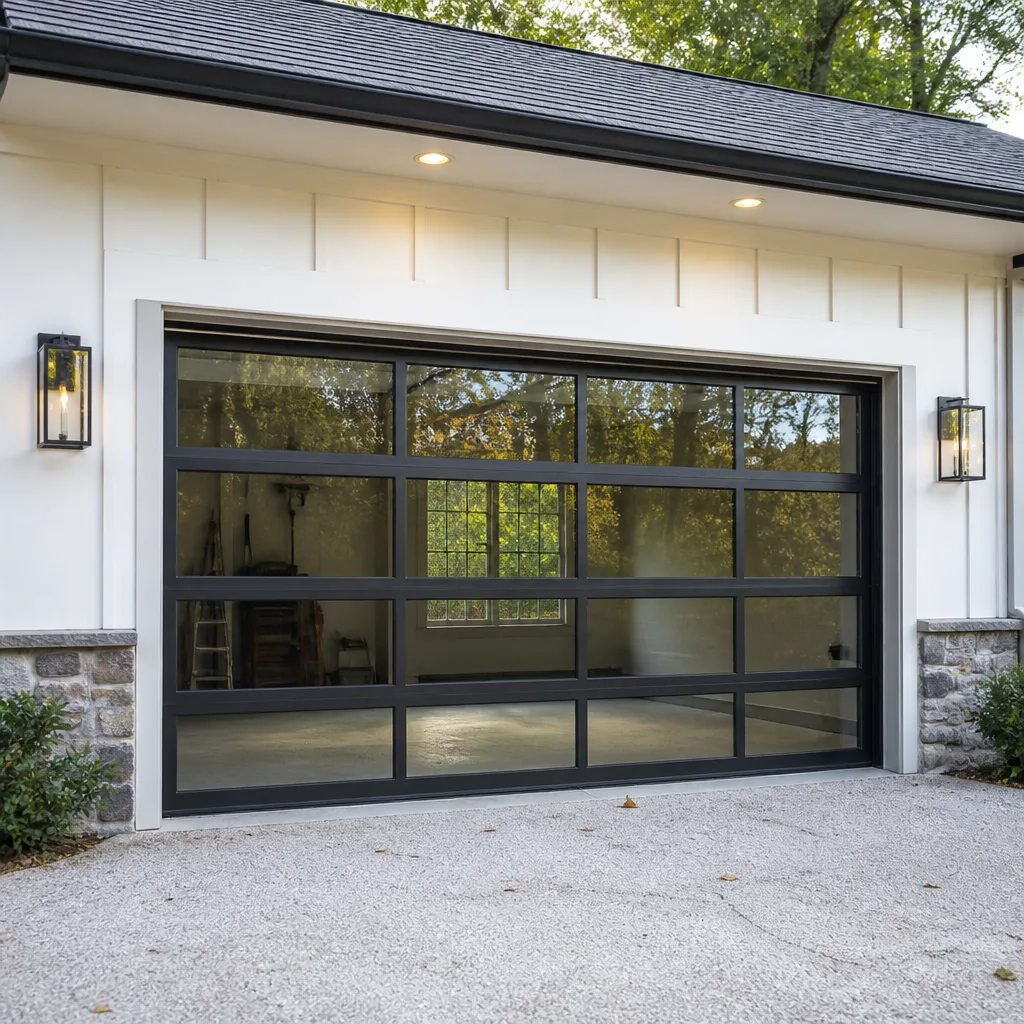 Full-view glass
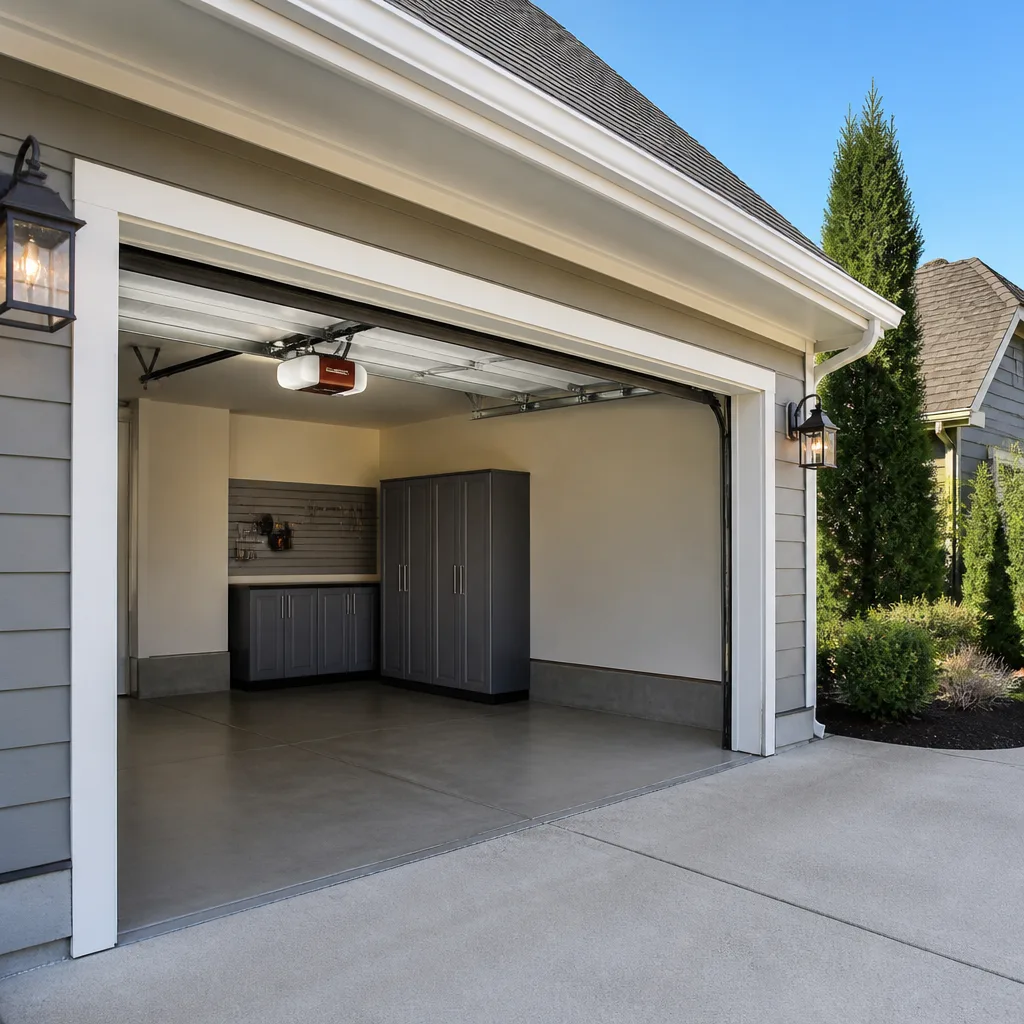 LiftMaster openers
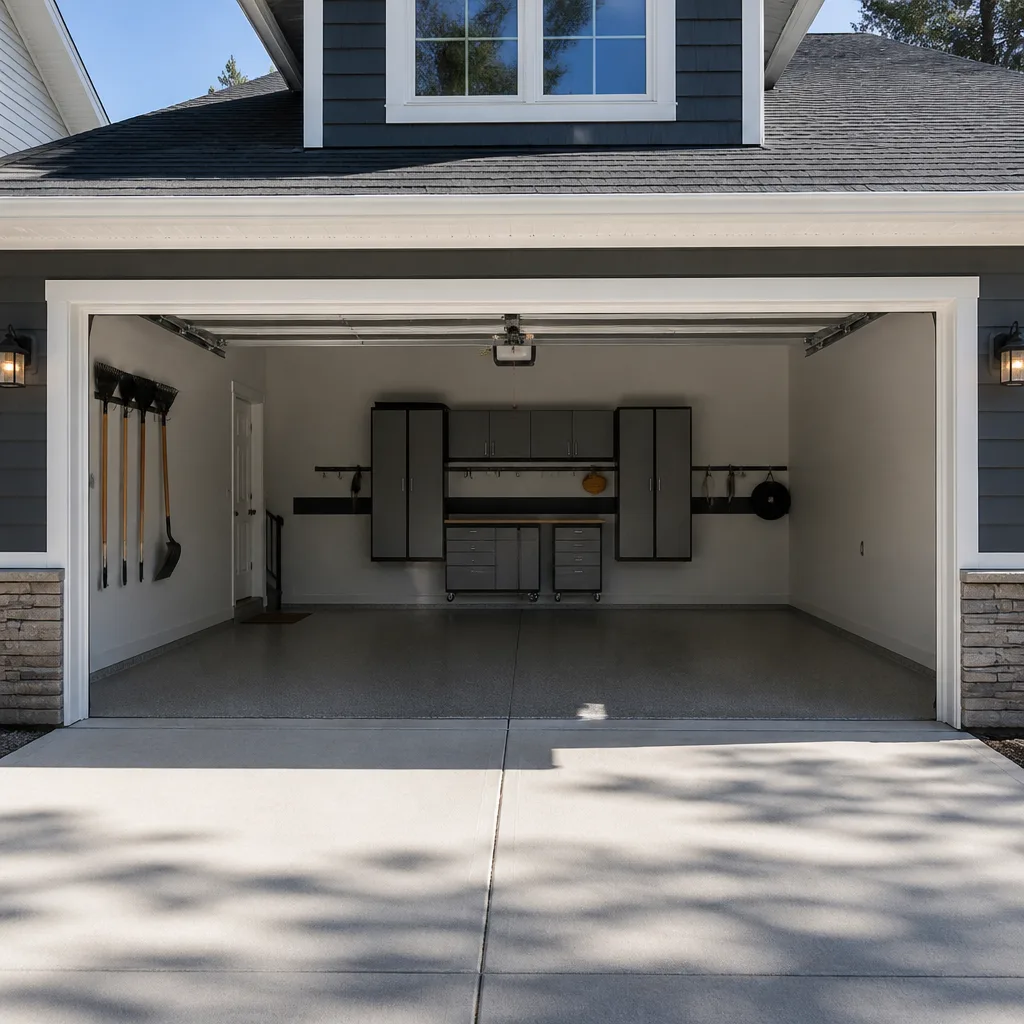 Chamberlain openers
Full 25-point door and opener safety check with every visit - springs, cables, rollers, tracks, and your LiftMaster or Chamberlain opener included
You get a price before we start. It does not change when the pro arrives.
Get your free estimateGarage Door Repair Maintenance Checklist for Forest Hill Homeowners
Spraying WD-40 on your garage door springs is one of the most common homeowner mistakes we see, and it does the opposite of what people intend: it strips the protective coating off the coils and speeds up corrosion instead of preventing it. The right lubricant is a lithium-based grease, and it goes on a short list of specific spots, not everything that moves. The same problem runs through almost every checklist you’ll find online. “Lubricate moving parts” tells you nothing about which parts, which product, or how a worn component actually reveals itself before it fails. This guide fixes that for Forest Hill homeowners. You’ll get a task-specific, sequenced walk-around you can do in an afternoon, with the pass/fail signs spelled out, plus the local winter conditions that make certain checks worth repeating more often.
Quick Answer
A complete garage door maintenance checklist covers five things: lubrication of the correct points with lithium-based grease (never WD-40 on springs), a visual inspection of cables, rollers and the bottom seal, a manual balance test with the opener disconnected, an opener force and auto-reverse test, and a hardware tightness check. Most of these reset your maintenance clock for 12 months, while the balance test and bottom seal warrant a 6-month recheck. If any step turns up frayed cables, broken springs or a door that won’t reverse, stop and call a professional rather than pushing further.
Styles & brands we work with
- Raised-panel steel
- Carriage house
- Modern flush
- Full-view glass
- LiftMaster openers
- Chamberlain openers
Table of Contents
- The Exact Lubrication Map
- How to Test Spring Balance with the Manual Disconnect
- Visual Inspection: Cables, Rollers and Bottom Seal
- Opener Force and Auto-Reverse Test
- Hardware, Track and Panel Checks
- Which Tasks Reset Your Clock for 12 Months and Which Need 6
- Common Mistakes to Avoid
- When to Call a Professional
The Exact Lubrication Map
Lubrication is where most checklists fall apart, so let’s be specific. Your garage door has moving parts that need grease and moving parts that should be left alone. Getting this wrong is the single most common cause of premature wear we’re asked to correct in Forest Hill. The rule of thumb: metal-on-metal contact gets lubricated; anything designed to roll or slide on its own material stays dry.
Here’s the map:
- Hinges – yes. One small dab of lithium-based grease at each hinge pivot. Wipe off excess.
- Tracks – no. Tracks are meant to stay clean and dry. Grease attracts grit, and grit in a track causes binding and roller wear. Wipe them with a dry cloth only.
- Springs – yes, but only the torsion bar. If your door has a torsion spring assembly (a horizontal bar above the door), put a light coat of lithium grease on the bar itself. Never spray lubricant into the coils of an extension spring or a torsion spring.
- Rollers – yes for steel, no for nylon. Steel rollers get a drop at the stem. Nylon rollers are self-lubricating and should be left dry.
- Opener rail and chain – a light grease on the chain, nothing on a belt. Belt-drive openers need no lubrication on the belt itself.
Reapply once a year in most cases. In Forest Hill, where winter cold and road salt tracked in on tires both work against the door, the hinge points and the torsion bar are the two spots we suggest checking twice a year. A dry hinge squeaks before it fails; that squeak is your cue, not the sound of the door coming down.
For the parts themselves, brand matters. If your door came with Clopay or Amarr hardware, the roller and hinge specs are consistent enough that visual wear is easy to judge against a fresh part. Wayne Dalton doors sometimes use proprietary hardware, so if you’re unsure what you’re looking at, a quick call to a specialist who works on that brand saves guesswork.
How to Test Spring Balance with the Manual Disconnect
The balance test tells you whether your springs are still doing their job. It’s the single most useful DIY check on this list, and it takes about a minute. It’s also the check that most clearly signals when it’s time to stop and call someone, because a failing result means the springs are under shifting tension.
Here’s the procedure, step by step:
- Close the door fully and make sure no one is in the door’s path.
- Pull the manual release cord hanging from the opener trolley. This disconnects the opener from the door so you can move it by hand.
- Lift the door by hand to about waist height, then let go. Don’t stand underneath it.
- A balanced door stays put within a few inches of where you released it.
- Now lift the door to about three feet off the ground and let it rest against your hand.
What a failing door feels like at that three-foot point matters. A balanced door feels light and neutral, like it could go either way with a fingertip. A door with a weakening spring feels heavy, sinks on its own, or drops faster than you expect. If the door won’t stay up when you let go, or slams down, the springs are losing tension.
What to do about a failing balance test is where we get careful. Springs are under extreme tension even when the door is down, and the tools and technique for adjusting or replacing them are not homeowner tools. Don’t try to tighten, add turns to, or remove a spring yourself. That’s the one point on this checklist where the answer is always “call a professional.” This is exactly the repair garage door repair covers, and it’s worth knowing the differencing signs before you attempt anything.
Reconnect the door to the opener when you’re done testing. If the balance test failed, leave the door down and call rather than working the opener repeatedly.
Visual Inspection: Cables, Rollers and Bottom Seal
A visual inspection catches wear before it becomes a breakdown. Forest Hill winters make this more important than the generic checklists suggest, because cold and the freeze-thaw cycle are hard on specific components. Here’s what to look for, and what a problem looks like.
Cables
Cables run along the sides of the door. A healthy cable is a tight, uniform braid with no stray strands. What a failing cable looks like: individual wire strands fraying out from the braid like a worn rope, or a kink or birdcage where the cable has jumped. Frayed cables are a stop sign. Don’t operate the door, don’t try to rewind the cable yourself. Like springs, cables are under tension and can cause serious injury. Call a pro.
Rollers
With the door up, look at each roller where it sits in the track. A healthy roller is round and rolls smoothly. A worn roller is flat-spotted, chipped, or wobbly at the stem. Steel rollers wear faster and often need replacement after several years; nylon rollers last longer but can crack. If a roller is visibly worn, replacing it before it seizes saves the track.
Bottom Seal
The rubber seal at the bottom of the door is where Forest Hill winters do visible damage. Cold makes rubber stiff and brittle, and repeated freeze-thaw cycles crack it. What to look for: visible cracks along the seal, a seal that’s flattened and no longer contact the floor, or daylight showing under the closed door. A failing seal lets in cold air, water and pests, and it also throws off the door’s balance and safety reversal. It’s a cheap part and one of the few fixes a confident homeowner can do alone, but if the cracks are severe or the seal won’t seat, call.
Panels and Hardware
Walk the perimeter and look for dents, rust spots along the bottom edge, and loose bolts at the hinges and brackets. Rust at the bottom edge is common where a door meets slush and salt. Tighten any loose bolts with a socket, but stop if a bolt spins freely: that signals stripped threading and a bracket that needs attention.
Opener Force and Auto-Reverse Test
Your opener has two safety functions you should test at least once a year. Both are simple, and both matter every time someone walks under the door. This is the second area on the checklist where the procedure is specific enough that a pass or fail is clear.
Auto-Reverse Test (Contact)
- Place a solid object about the height of a 2×4 on the floor in the middle of the door’s path.
- Close the door using the opener or wall control.
- The door should reverse within about two seconds of contacting the object and return to the open position.
If the door presses down on the object before reversing, or doesn’t reverse at all, the auto-reverse is failing and needs adjustment. This test applies to any brand: a LiftMaster, Chamberlain, Genie, or Craftsman opener all use the same principle. It’s covered in detail on the garage door opener repair page if you want the full adjustment walkthrough, but the short version is: if it fails, don’t keep testing with people or pets nearby.
Force Test (Non-Contact)
Hold your hand flat against the bottom edge of the door as it closes (never your fingers, and never let the door close fully on your hand). The door should stop and reverse easily. If it takes noticeable effort to stop, the closing force is set too high. Most openers have a force adjustment dial or screw, but adjust it briefly and re-test.
Safety Eye Test
The photo-eye sensors at the base of the door should break the beam when an object crosses them. Wave a hand or a box between the sensors while the door closes. It should reverse immediately. If the eyes are misaligned or one is dead, the opener won’t allow the door to close safely. These are the checks that prevent the most common opener injuries, and worth repeating with the seasons because cold can throw alignment off.
Hardware, Track and Panel Checks
The final walk-around is about the structure the hardware rides on. Tracks and panels are the parts homeowners underestimate because they look solid. They’re not.
- Track alignment. Step back and look up each vertical and horizontal track. It should form a straight vertical line with the door. Any visible bend, bow or gap at the joint is a problem: bent track causes binding and can force the door off its rollers.
- Track cleanliness. Debris, leaves and grit accumulate in the bottom curve of the track. Sweep it out and wipe the track with a dry cloth. Never apply oil.
- Bolts and brackets. Tighten any loose bolts at hinges, brackets and the opener rail. Don’t over-tighten, and don’t tighten springs.
- Panel wear. Look for cracks at the edges of panels (common on older doors), and rust along the bottom. A cracked panel can spread and weaken the door structure; for doors from Wayne Dalton or similar panel systems, replacement panels are often more practical than a full door.
- Door travel. Open the door fully and close it. It should travel smoothly and stop flush with the floor.
If the door has begun to run rough or the opener strains to lift it, don’t keep hitting the button. That’s the sound of a worn or failing part telling you it’s on its last leg. A specialist can diagnose it the same way we do on a repair call, and if a full replacement ends up being the right answer, this is the kind of measured project garage door installation handles.
Forest Hill’s older homes often have doors from the era of the brands above, and a Craftsman opener that’s been in operation longer than anyone remembers. If you’re not sure what you’re working with, our technicians work on eight major brands, so a call gets you a straight answer rather than a guess.
Which Tasks Reset Your Clock for 12 Months and Which Need 6
Not every task on the checklist is created equal. Some hold a clean bill of health for a year; a few need a second look mid-year. Here’s how to think about the calendar.
Tasks that reset for 12 months:
- Lubrication of hinges, torsion bar and steel rollers
- Auto-reverse and force test of the opener
- Safety eye alignment check
- Bottom seal condition (generally, though severe winters warrant the 6-month check below)
- Hardware tightness and track cleanliness
Tasks that warrant a 6-month recheck:
- Balance test. In Forest Hill, the freeze-thaw cycle works on the springs and door hardware through winter, so a spring that tested balanced in fall can weaken by spring. Re-test mid-season.
- Bottom seal and cable visual. Cold does the most damage to rubber and metal cables, so look again when the season turns.
- Hinge lubrication. A second dab mid-season keeps the grease from drying out in the cold.
- Opener force. Cold stiffens the door and can make the opener strain, so the force test is worth repeating as temperatures drop.
A simple habit: do the full checklist once a year, then do the short 6-month list when the seasons change. Keep a note of what you found so the next check has a baseline. If a component failed the balance or force test, don’t wait for the calendar; that’s a call-now signal.
If a full walk-around feels like a lot, we’re glad to do it. Here at Forest Hill Garage Door Repair, the whole point of a checklist like this is to catch the small stuff before it becomes the emergency call.
Common Mistakes to Avoid
- Spraying WD-40 on springs. It strips the protective coating and accelerates corrosion, making the spring fail sooner. Use lithium-based grease on the torsion bar only.
- Greasing the tracks. Grease in the track gathers grit and binds the rollers. Tracks stay clean and dry.
- Forcing the door when it runs rough. Running a straining opener repeatedly turns a small repair into a motor replacement. Stop and diagnose.
- Skipping the balance test because it looks fine. A door can open and close smoothly while the springs are quietly losing tension. The 3-foot test is the only reliable check.
- Ignoring a frayed cable. A cable with frayed strands is a hazard under tension. Don’t operate the door; call a pro.
- Tightening spring assemblies. Adjusting or adding turns to a torsion or extension spring is a trained-technician job. The injury risk is real.
- Letting a failing bottom seal go. A cracked seal lets in cold air and water during Forest Hill winters and throws off the balance of the door, making the opener work harder than it should.
Each of these mistakes shows up often enough that it’s worth a note by the garage door: grease the right spots, don’t grease the rest, and when it’s under tension, call.
When to Call a Professional
Some problems a homeowner can handle; some should never be handled at home. Call us if you find: a spring that won’t hold the door at the 3-foot point, a door that won’t balance, or one that slams closed. Call if you see a frayed or kinked cable, a bent or bowed track, or a door that’s coming off its rollers. Call if the auto-reverse or force test fails and adjusting doesn’t fix it, or if the door binds and the opener strains. And call if a door is stuck open or jammed – that’s an emergency service, and getting it handled quickly protects the home. Forest Hill Garage Door Repair offers free estimates in Forest Hill, and our technicians have up to 13 years of experience with the leading brands. Call (877) 492-2570.
For the trade as a whole, the principle is the same: a door under tension is not a hobby project. Spring repair done right saves money and injury; spring repair done wrong is the most common serious injury in the trade. We’d rather you call us at the first sign than try to force it.
Frequently Asked Questions
Once a year is enough for most homes, with a second pass on hinges and the torsion bar when the seasons change. Use lithium-based grease only, and keep it off the tracks, the spring coils, and any nylon rollers. If you’re unsure where the grease goes, the map above covers each point.
Yes, you can test, but don’t adjust. Disconnect the door with the manual release and lift it to about three feet. If it stays put, the springs are balanced; if it sinks or drops, the springs are losing tension. Testing is safe; adjusting, tightening or replacing the springs is not a homeowner job and should always go to a trained technician.
Cold makes metal more brittle and the freeze-thaw cycle stresses the springs through the season. In Forest Hill, a spring that tested balanced in fall can weaken by spring, which is why the 6-month recheck is worth doing. If a spring fails, stop using the door and call – a broken spring leaves the door unsafe.
Torsion springs sit horizontally above the door and twist to lift it; extension springs run along the sides and stretch. The lubrication rule differs: grease the torsion bar, and never grease the coils of either spring. Both types are under high tension and both are a professional repair when they fail.
Yes. Cold stiffens the door and makes the opener work harder, which is why the force test and auto-reverse test are worth repeating as temperatures drop. If the door strains to open, don’t keep running the opener – a quick check on the balance test and seals often reveals the cause. For opener-specific issues, our garage door opener repair covers the fix.
You can do most of it: lubrication, visual inspection, the balance test and the opener safety tests are all safe homeowner tasks. The line is anything under tension – springs and cables – and any repair or replacement of the door hardware or panels. When in doubt, a free estimate is the cheapest way to find out what you’re dealing with. Call (877) 492-2570.
The Bottom Line
A garage door maintenance checklist is only useful if it’s specific. The right version, for a Forest Hill homeowner, covers five things: lubrication of the right points with lithium-based grease, a visual inspection of cables and seals, the 3-foot balance test with the manual disconnect, the opener’s auto-reverse and force tests, and a hardware and track check. Most hold for 12 months; the balance test and seal warrant a 6-month recheck because of the local winters. Do the walk-around once, note what you find, and when a component is under tension, stop and call. Forest Hill Garage Door Repair offers free estimates and same-day and emergency service – call Forest Hill Garage Door Repair at (877) 492-2570 for a free estimate.
Written by the team at Forest Hill Garage Door Repair.
See the difference
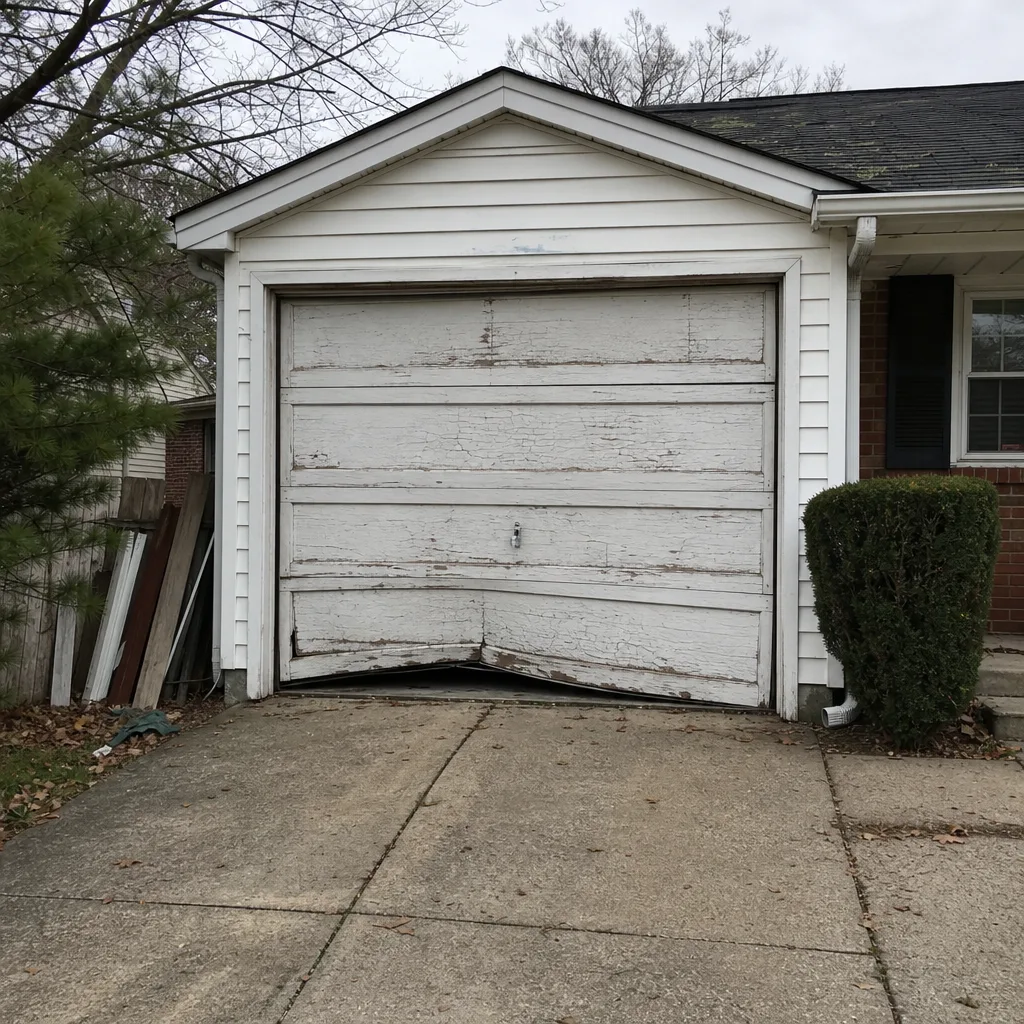 Before
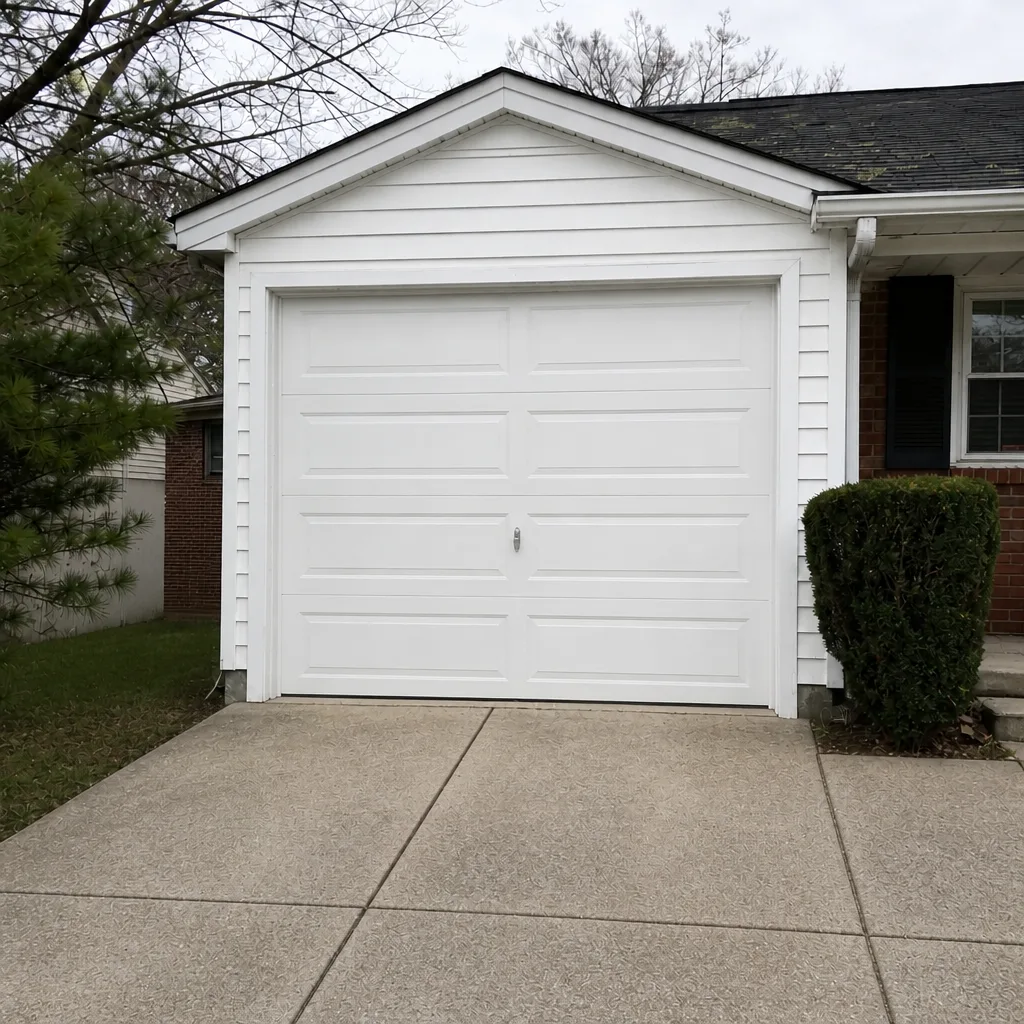 After
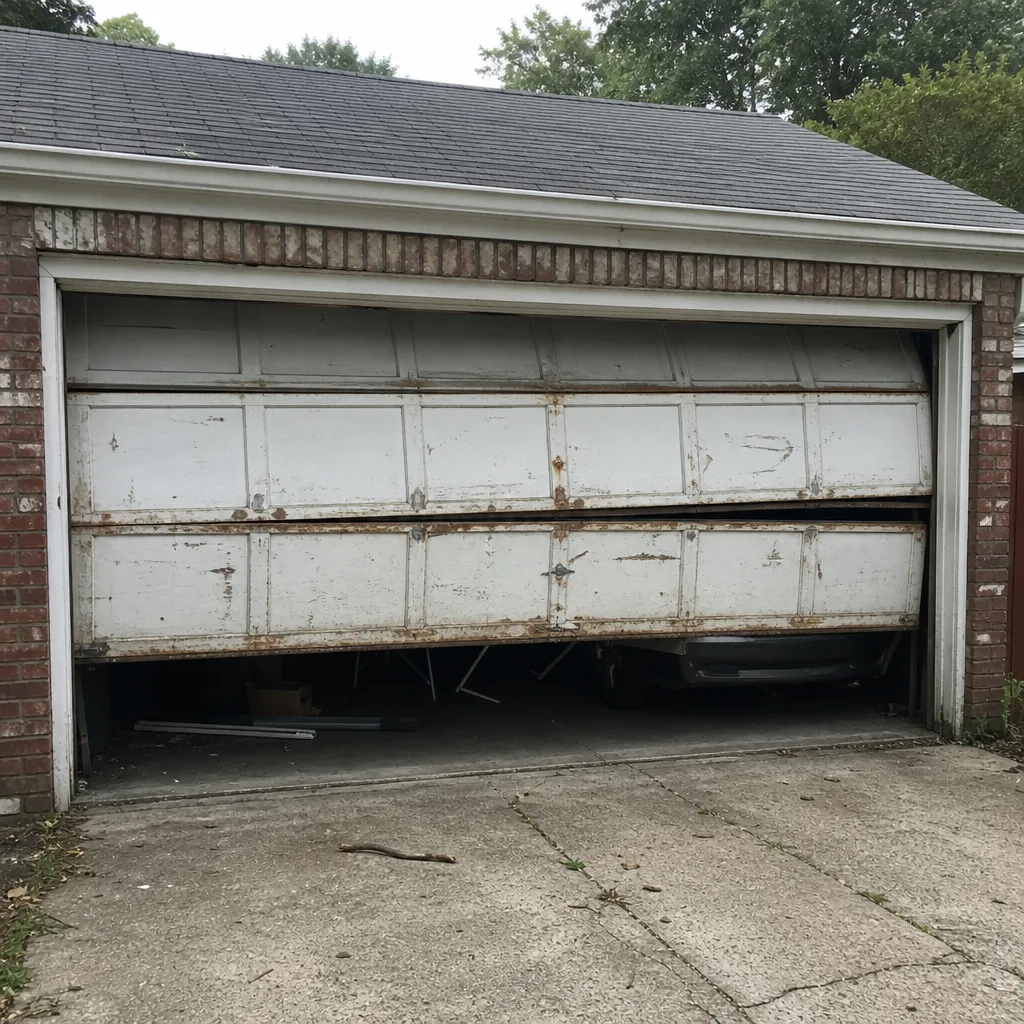 Before
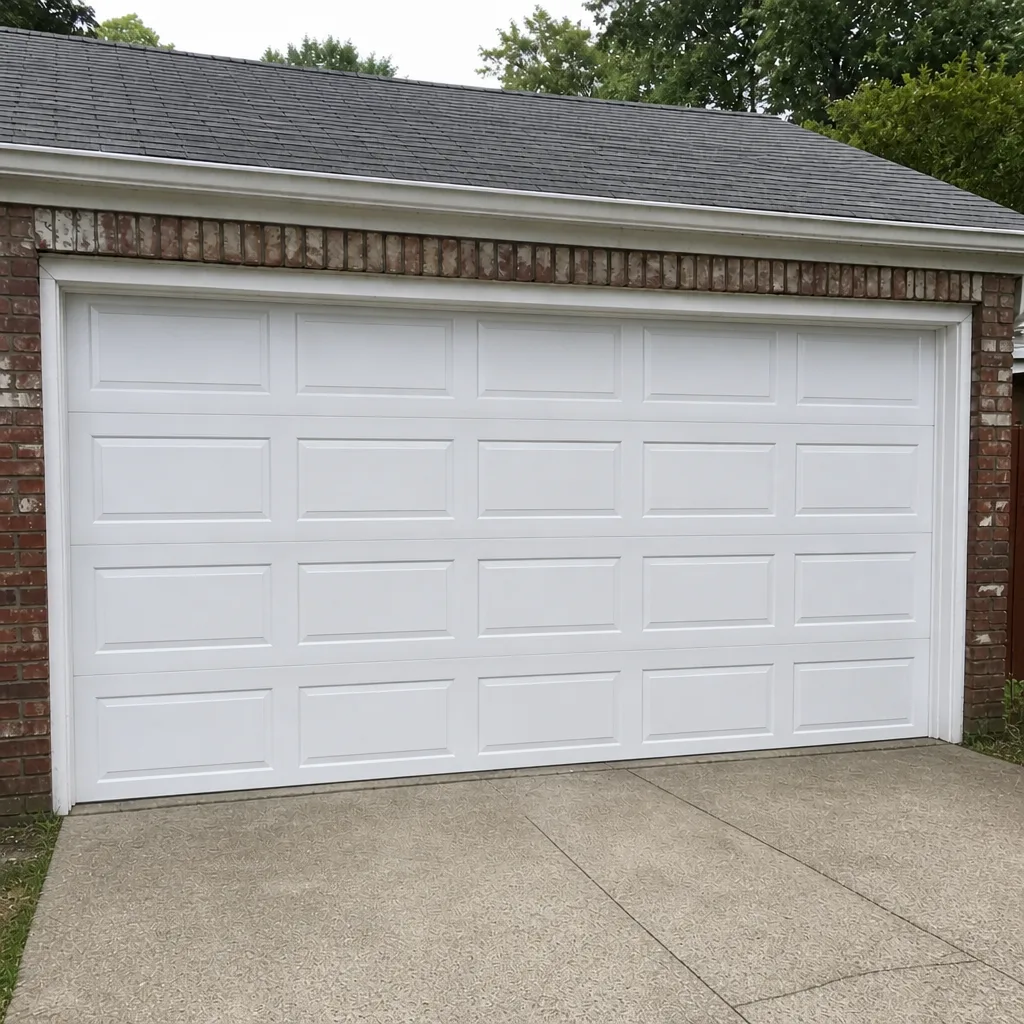 After
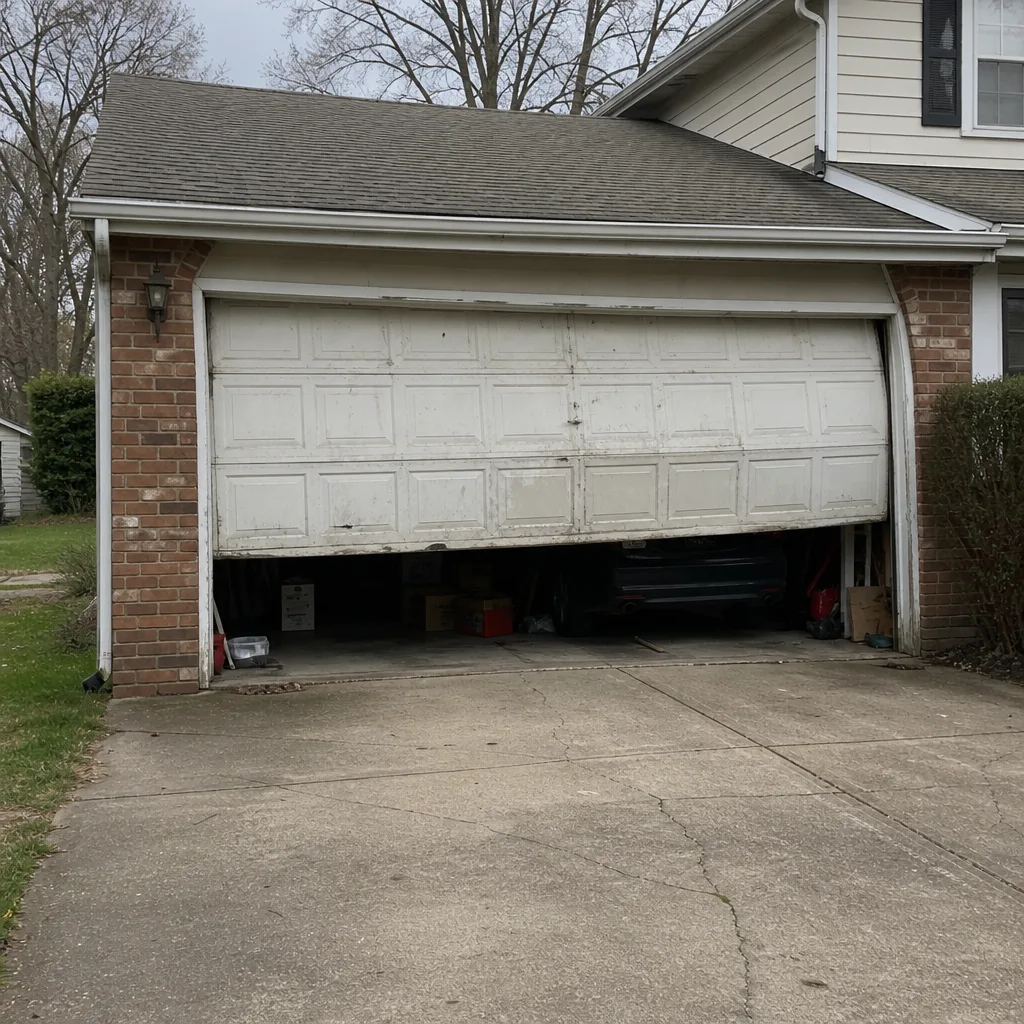 Before
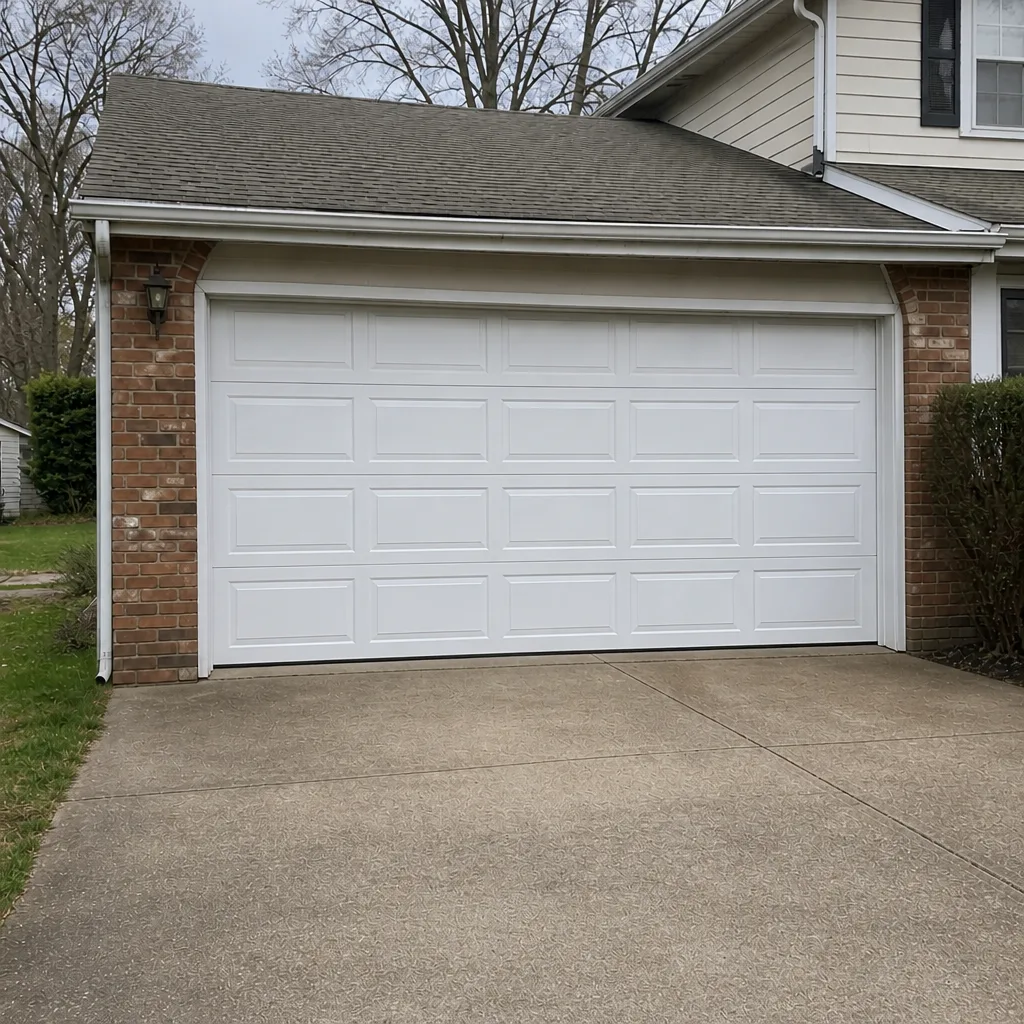 After